
Eppur si muove
In this article, we’ll go over each step of creating a VPN connection with Cableguard VPN, but don’t let the many details mislead you. Once Cableguard VPN is completed, there will only be three steps from the user’s perspective:
- Download/install Cableguard VPN and create a NEAR Protocol account
- Buy a Cableguard VPN subscription and receive RODT in your account
- Start the Cableguard VPN client and choose a server to connect to.
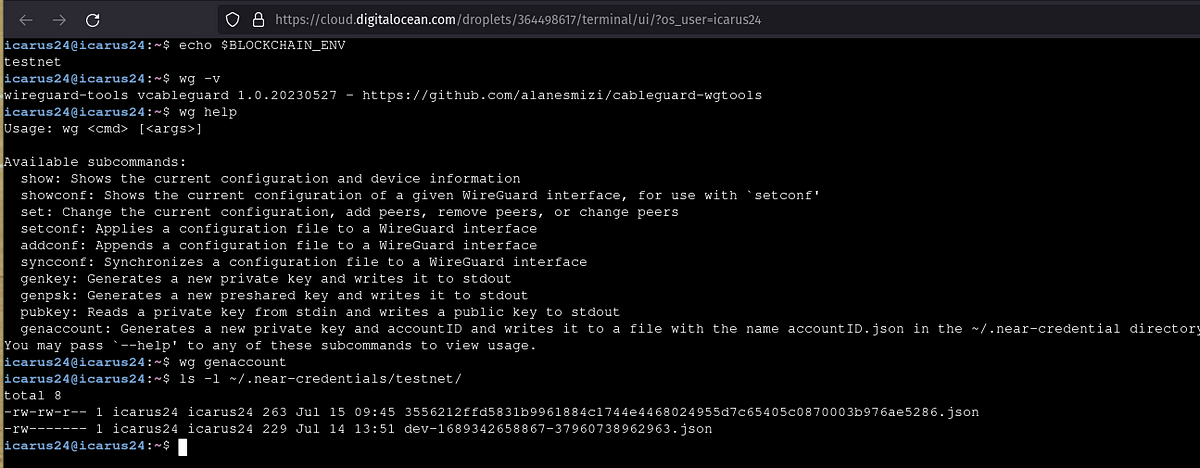
This demo works with Linux, using the NEAR Protocol testnet and installing from source code.
We first create a NEAR protocol account using Cableguard-TOOLS, which can be installed from https://github.com/alanesmizi/cgtools

Next, we add NEAR to the newly created account from a NEAR Protocol wallet running in testnet (screenshots from wallet.testnet.near.org/ but you can use any):


Next, we check the new balance of the newly created account that resides in our Linux system

Now, on the server provider side, we create a set of rich digital tokens inline for the VPN connections that are going to be authenticated:
